This simple robot insect follows the light, and you can make it in just 10 minutes! Hello and welcome to this DIY electronics tutorial. Here, we’re going to build a light-following robot insect, perfect for beginners and DIY enthusiasts.
Before we start building, let’s take a look at the components we’ll need
Components need for this Project
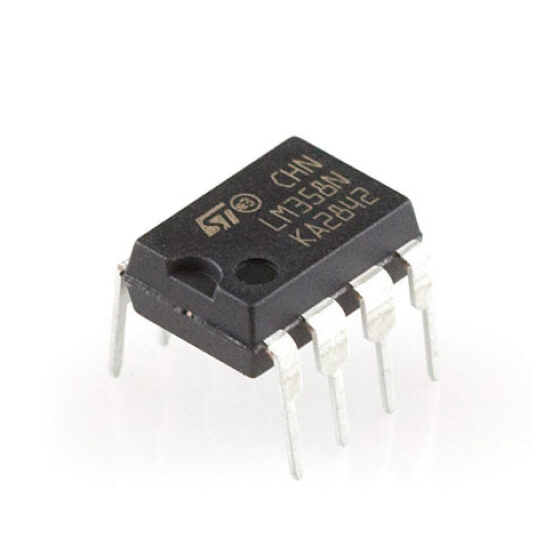


- LM358 comparator IC x 1
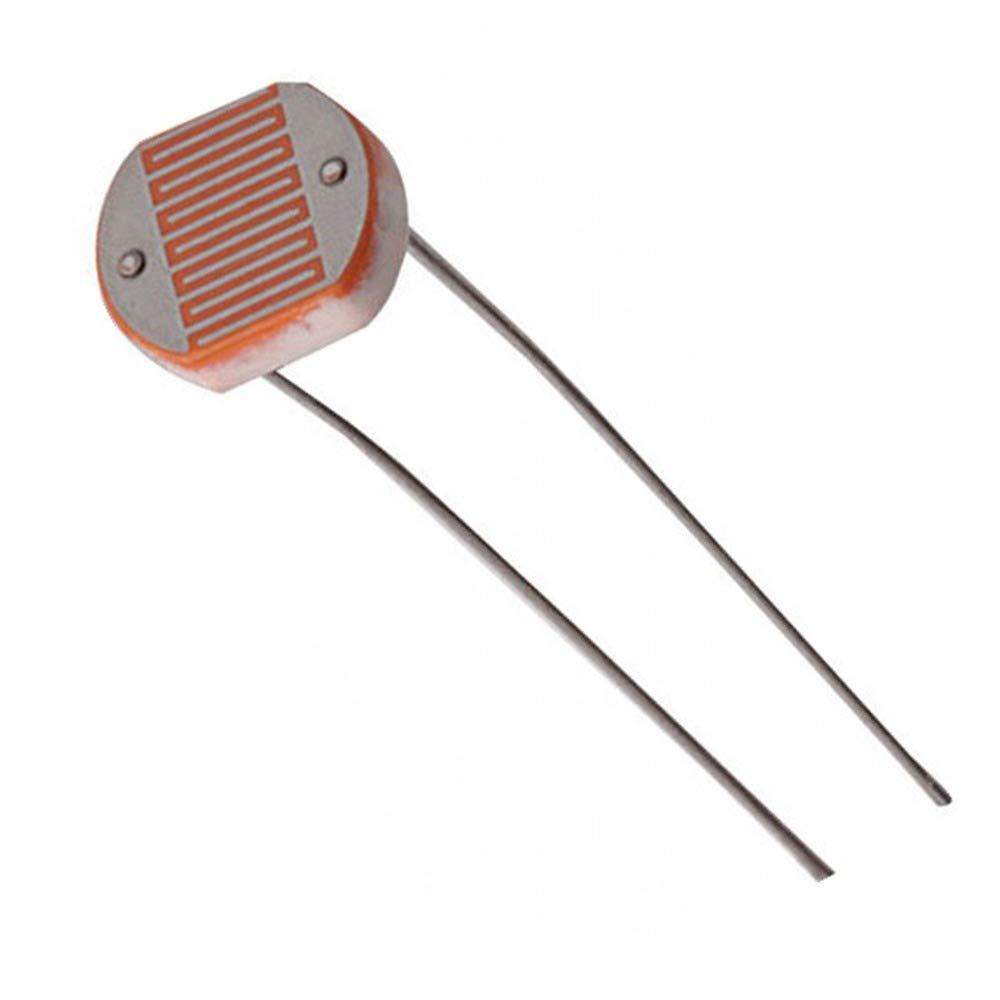
- LDR sensors x 2
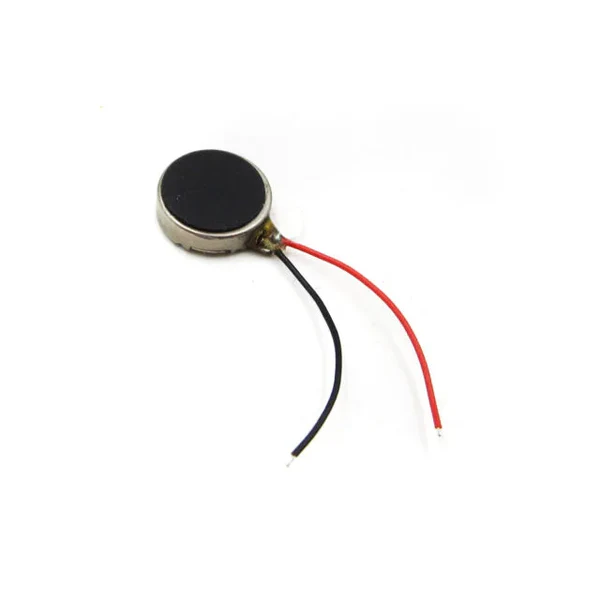
- Small vibration motors x 2
- Toothbrush heads x 2
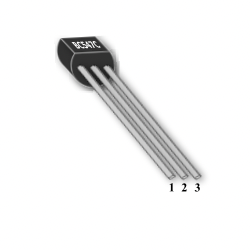
- BC547 transistors x 2
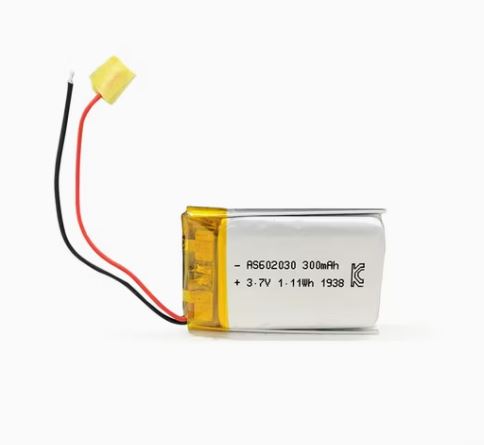
- 3.7V lithium battery x 1
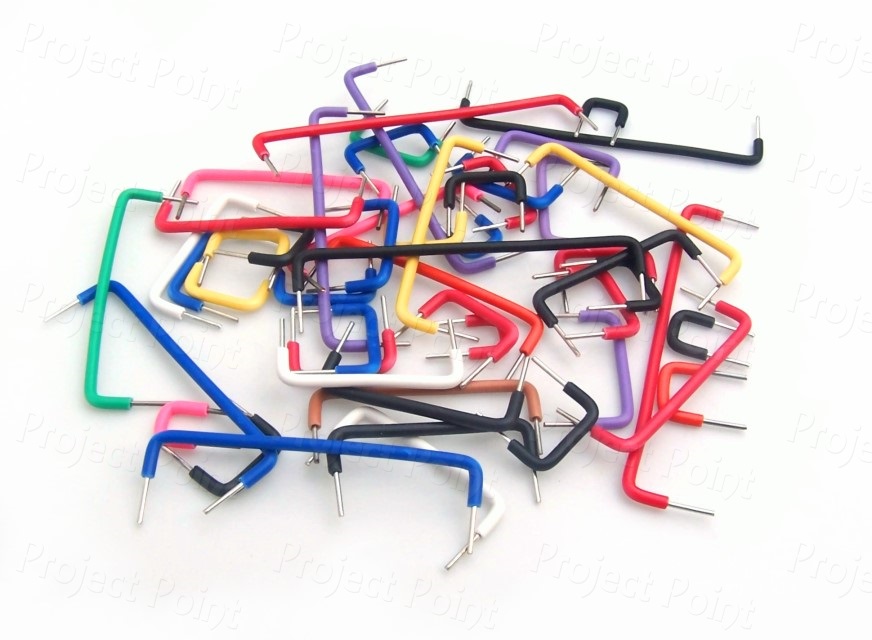
- Jumper wires x 15
- small breadboard x 1
Building the Circuit
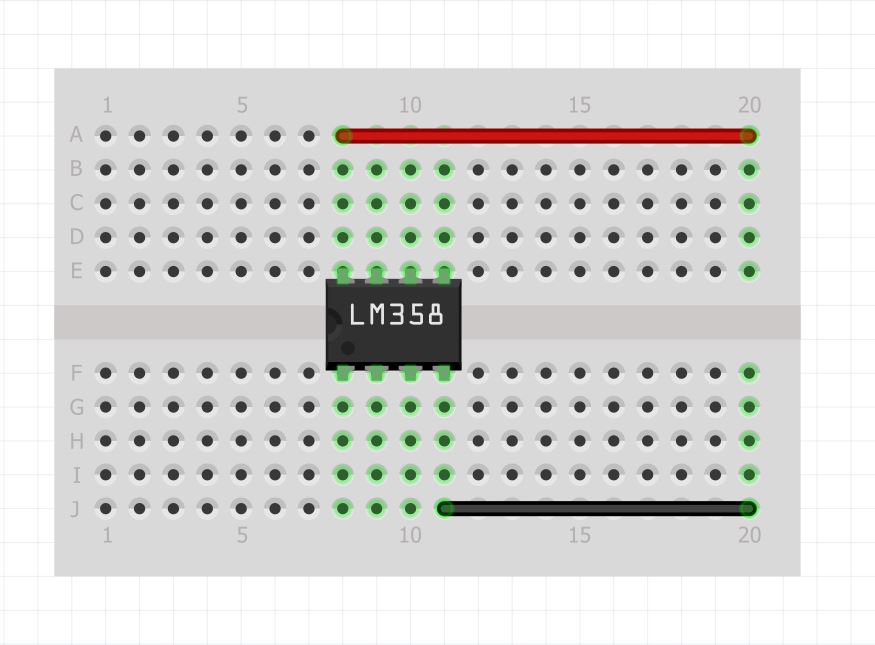
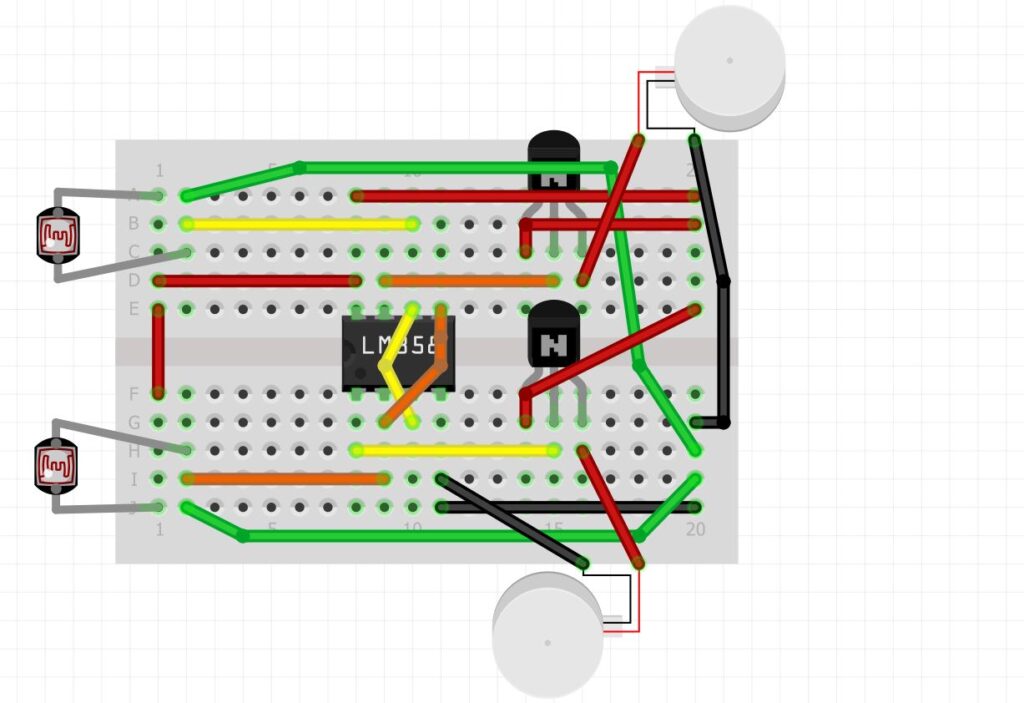
Now that we have our components, let’s build the circuit. First, place the LM358 IC on the middle of the breadboard.
Step 1: Connect IC Pins
Connect IC pin 8 to the first column of the upper right side, which will be used as the positive source. Connect IC pin 4 to the first column of the lower right side, which will be the ground.
Step 2: Connect LDR Sensors
Connect the LDR sensors to the LM358 comparator IC. The LDRs will detect light intensity and send a signal to the comparator. One leg of the right LDR will connect to the positive voltage, and the other leg to IC pin 6. For the left LDR, one leg will connect to IC pin 2, and the other leg to the positive voltage.
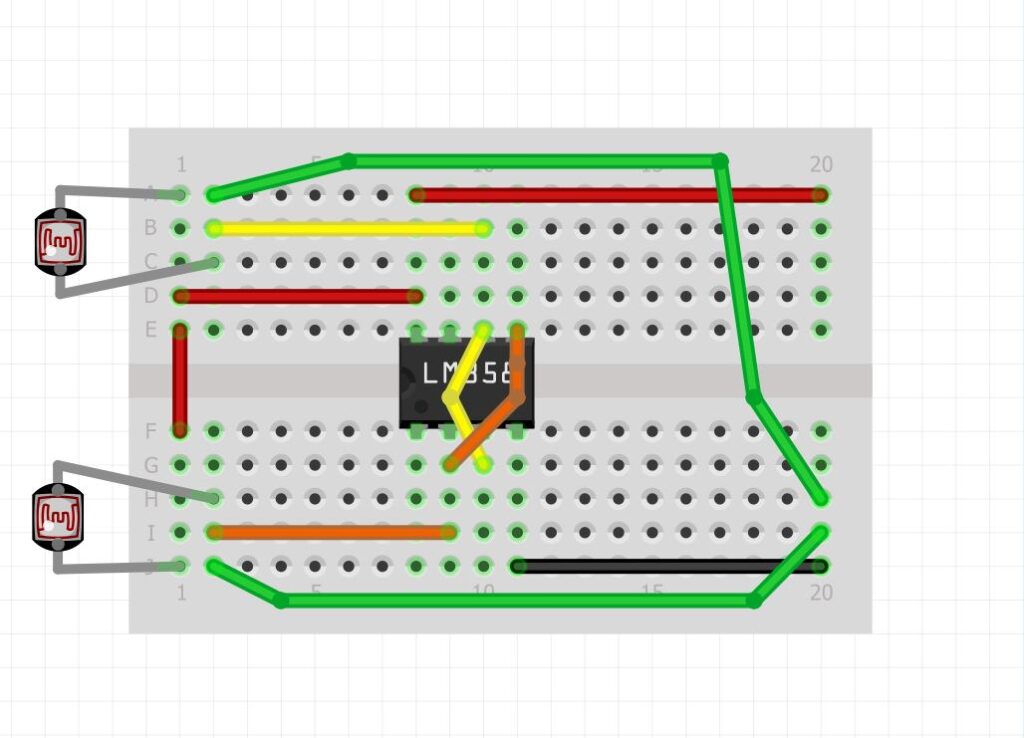
Step 3: Connect Vibration Motors
Now, let’s add the vibration motors. We’ll connect the small vibration motors to the BC547 transistors. The transistors will act as switches, amplifying the output from the comparator IC to drive the motors.
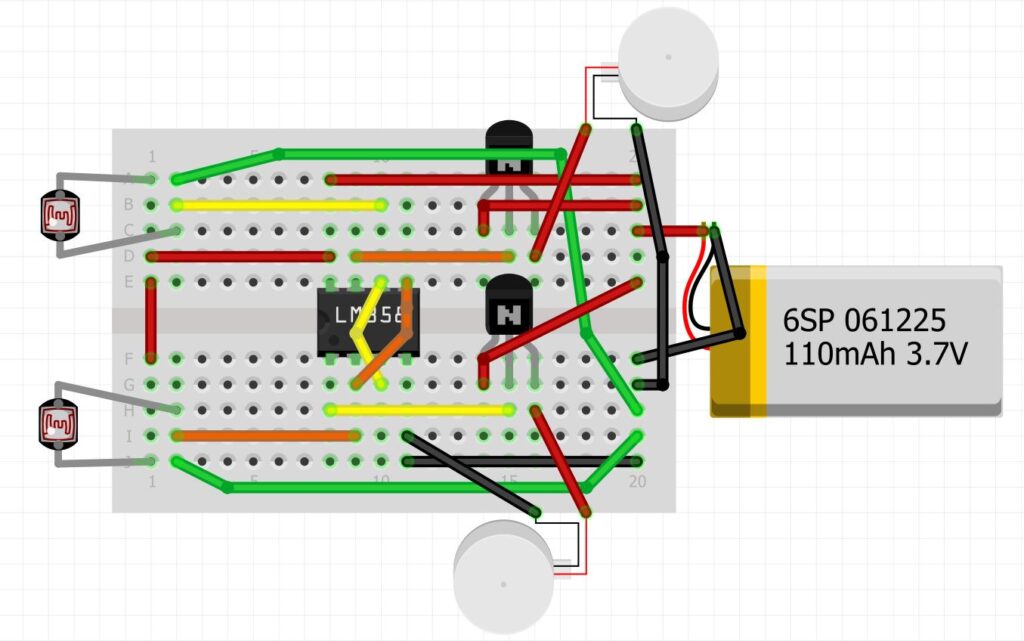
Step 4: Connect Power Source
Connect the 3.7V lithium battery to power our circuit. Make sure to connect the positive and negative terminals correctly.
Assembling the Robot
With our circuit built, let’s assemble our robot insect. We’ll fix the brush heads and battery to the back adhesive of the breadboard.
Testing the Robot
Now that our robot is assembled, let’s test it out! Place the robot near a light source and watch as it follows the light.
Troubleshooting
If your robot isn’t working as expected, here are some troubleshooting tips:
- Check your connections to ensure they’re secure and correct.
- Make sure the positive and negative terminals of the battery are connected correctly.
- If the motors aren’t working, try testing them with a separate power source.
Conclusion
That’s it! We’ve successfully built a light-following robot insect. This project demonstrates the basics of electronics and robotics and is a great starting point for more complex projects.
Feel free to experiment with modifications or variations. Thanks for reading! If you have any questions or comments, please leave them in the section below. Don’t forget to like and subscribe for more DIY electronics tutorials and projects.